
Last updated September 20, 2026
Full 25-point door and opener safety check with every visit - springs, cables, rollers, tracks, and your LiftMaster or Chamberlain opener included
You get a price before we start. It does not change when the truck arrives.
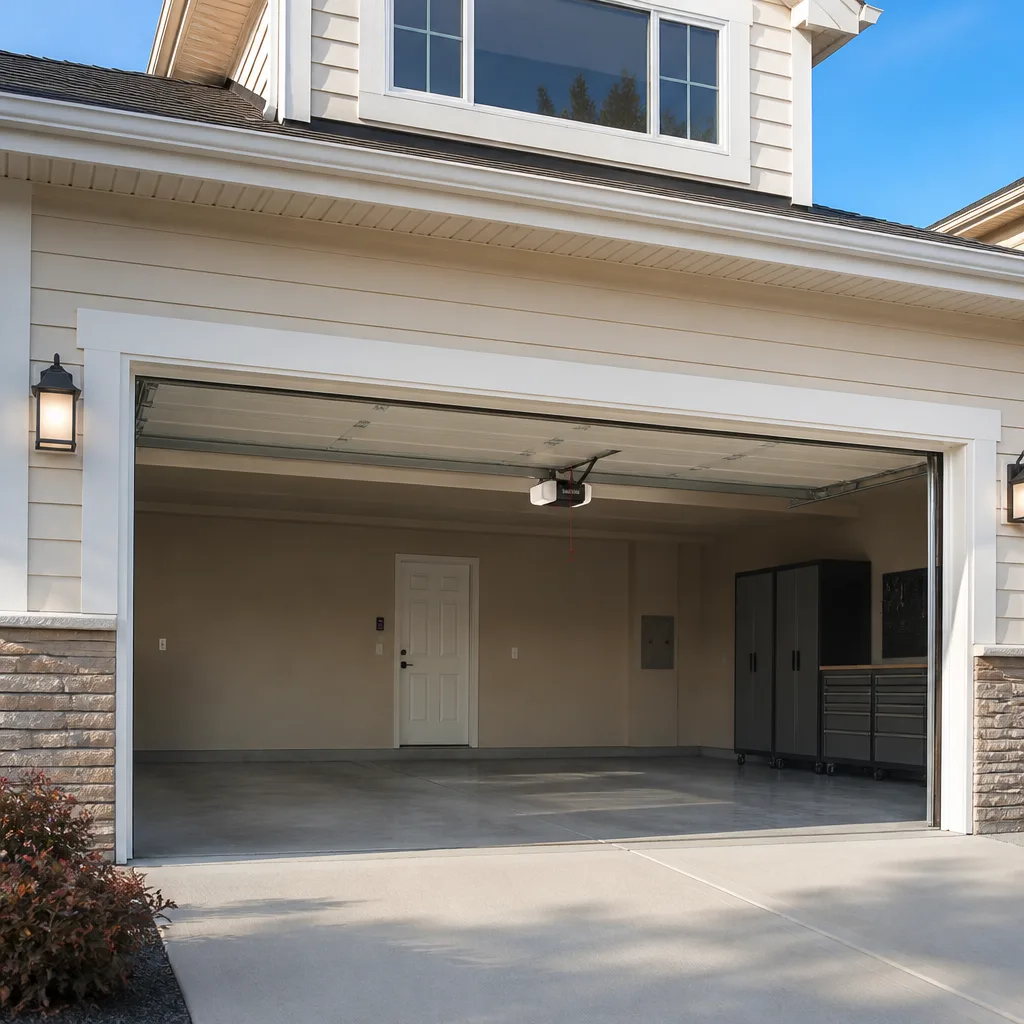
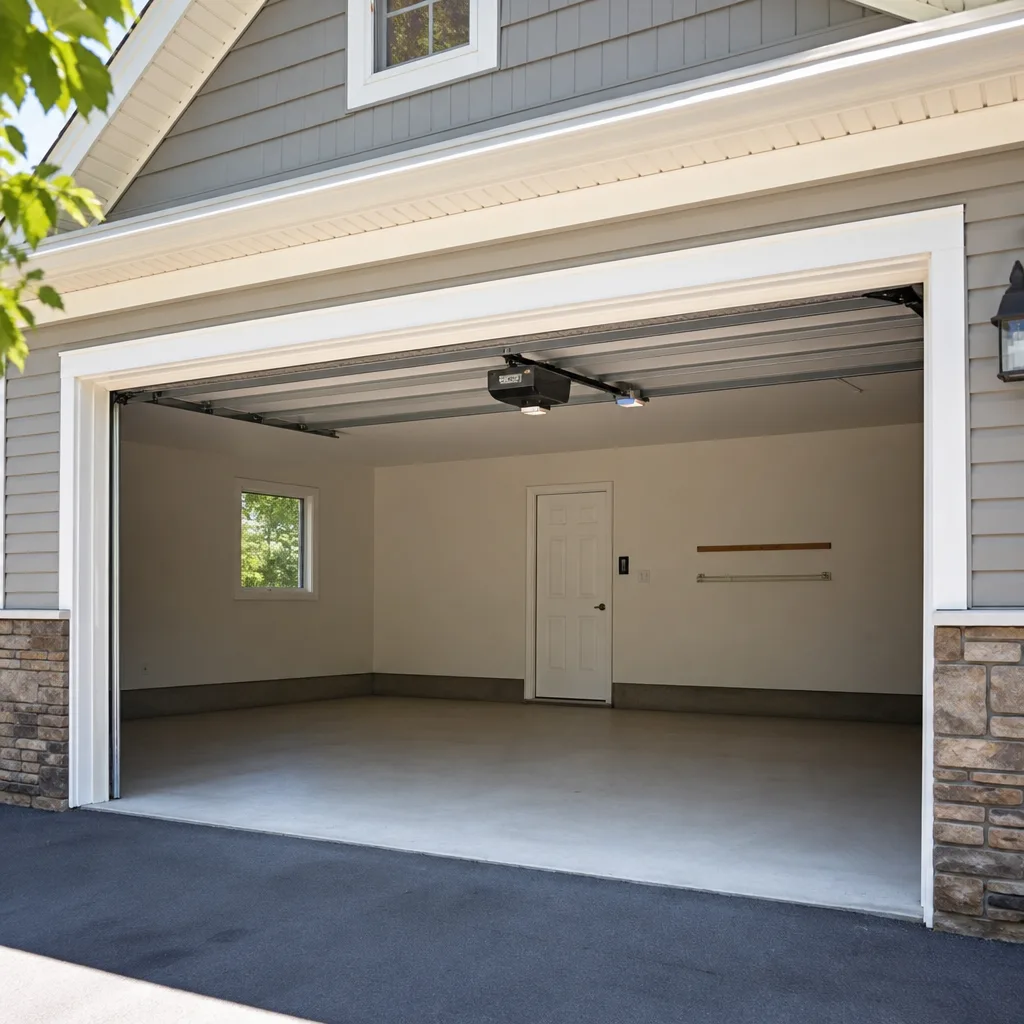
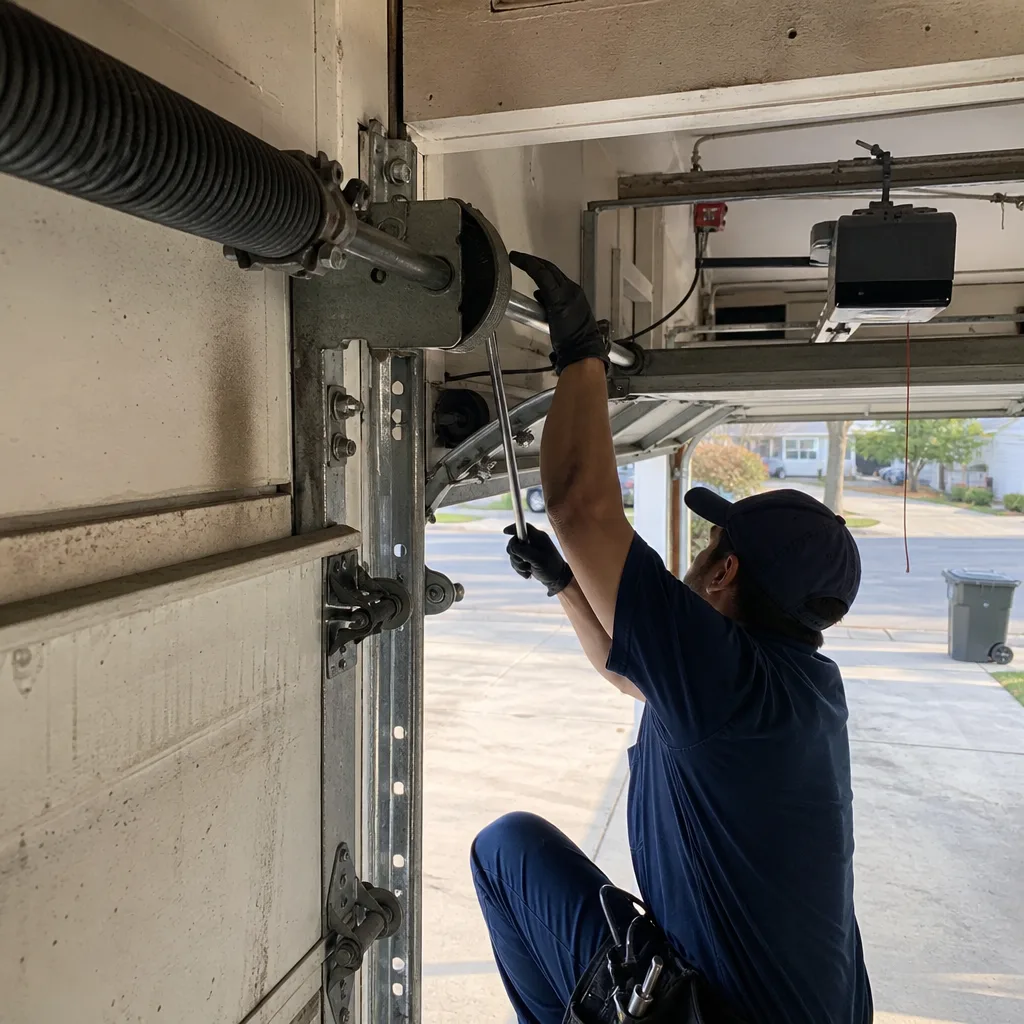 Before
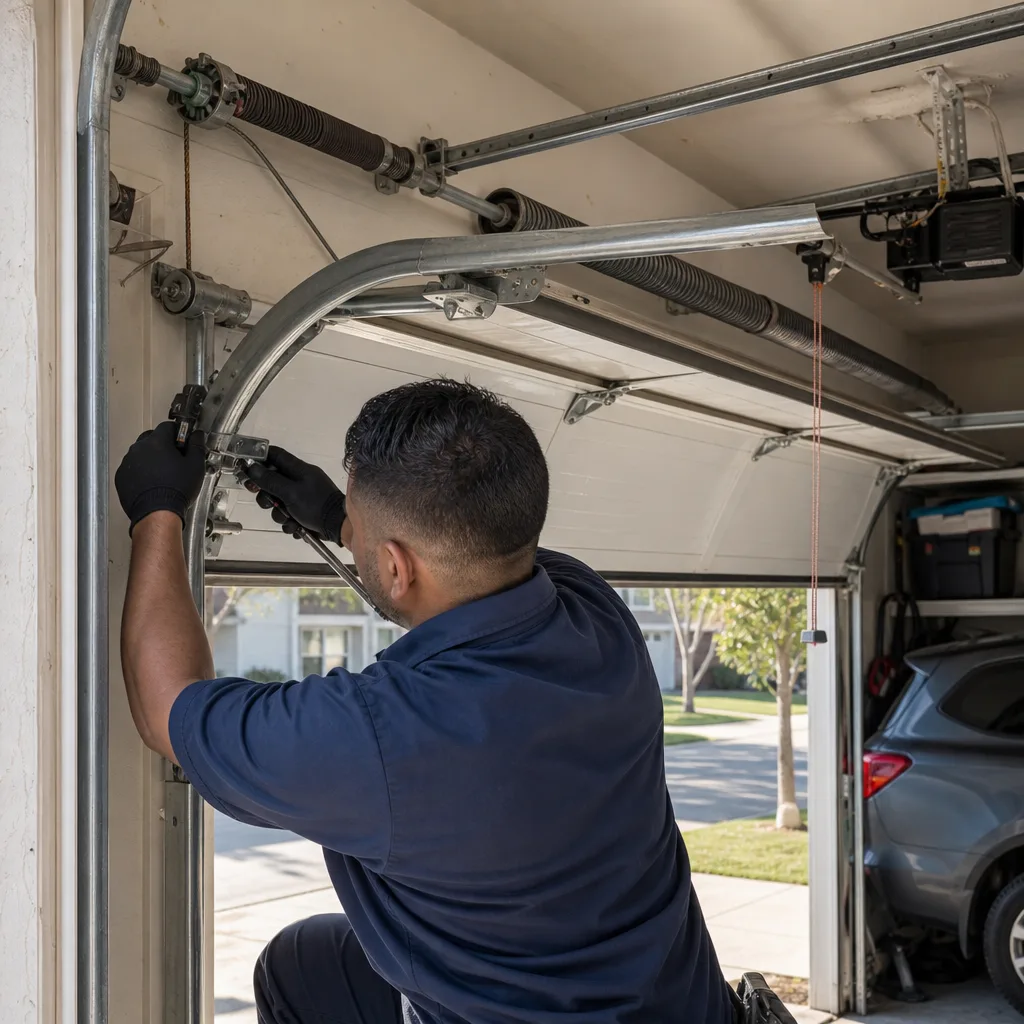 After
After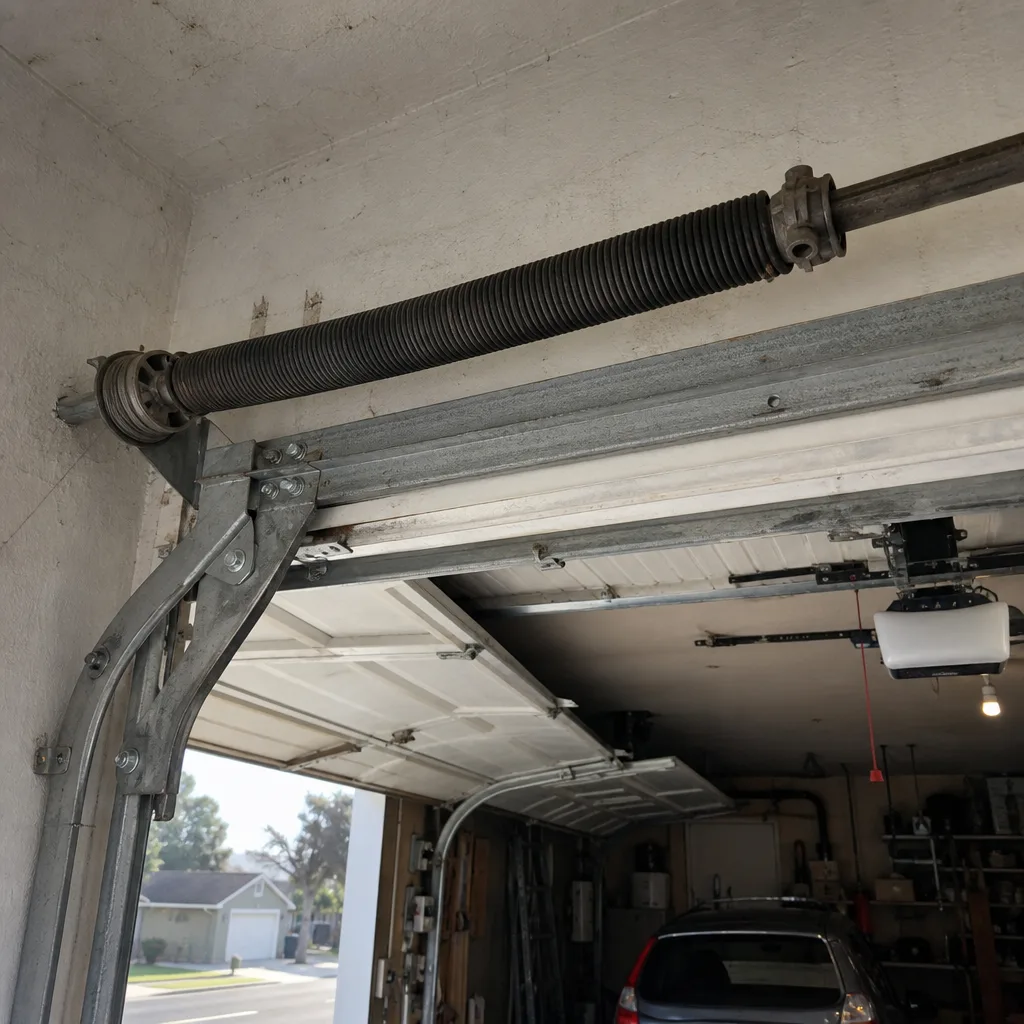 Before
 After
After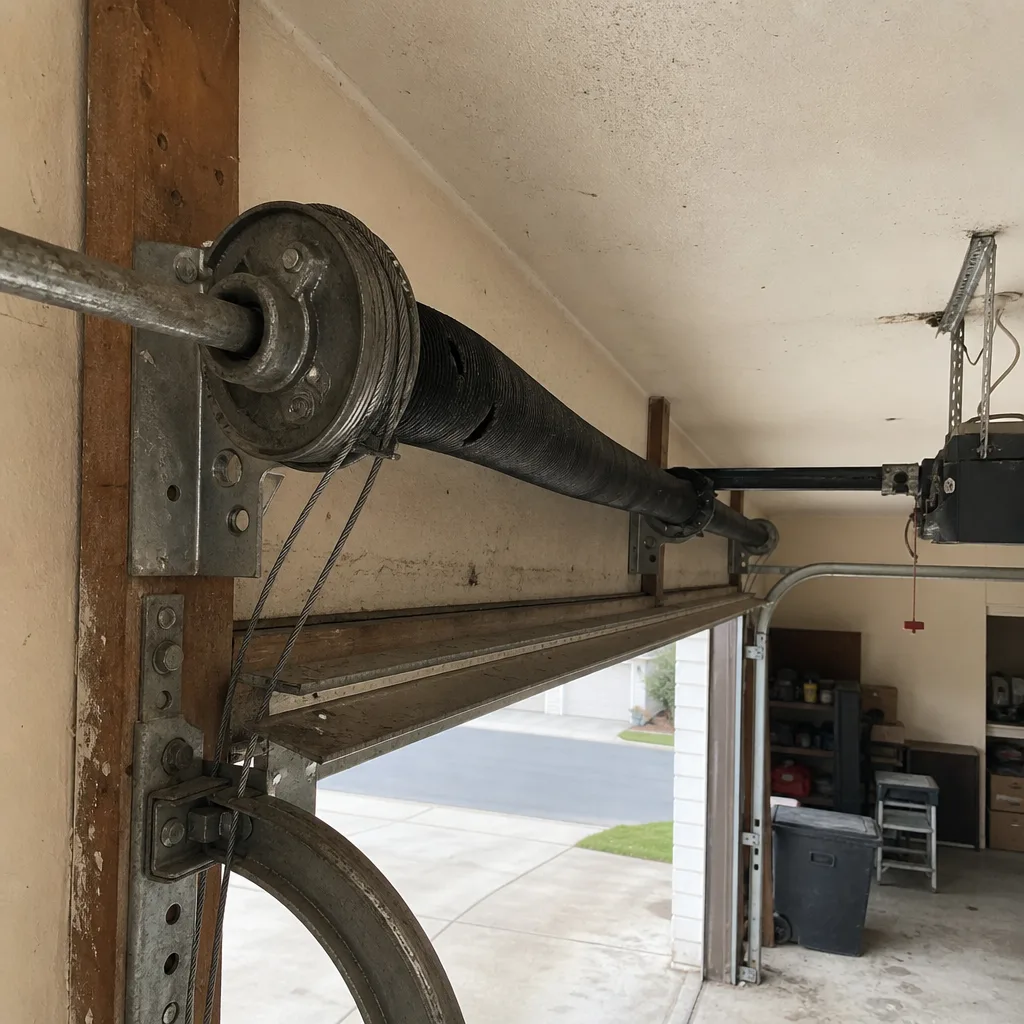 Before
 After
AfterDIY vs Professional Garage Door: The Ontario Homeowner’s Decision Guide
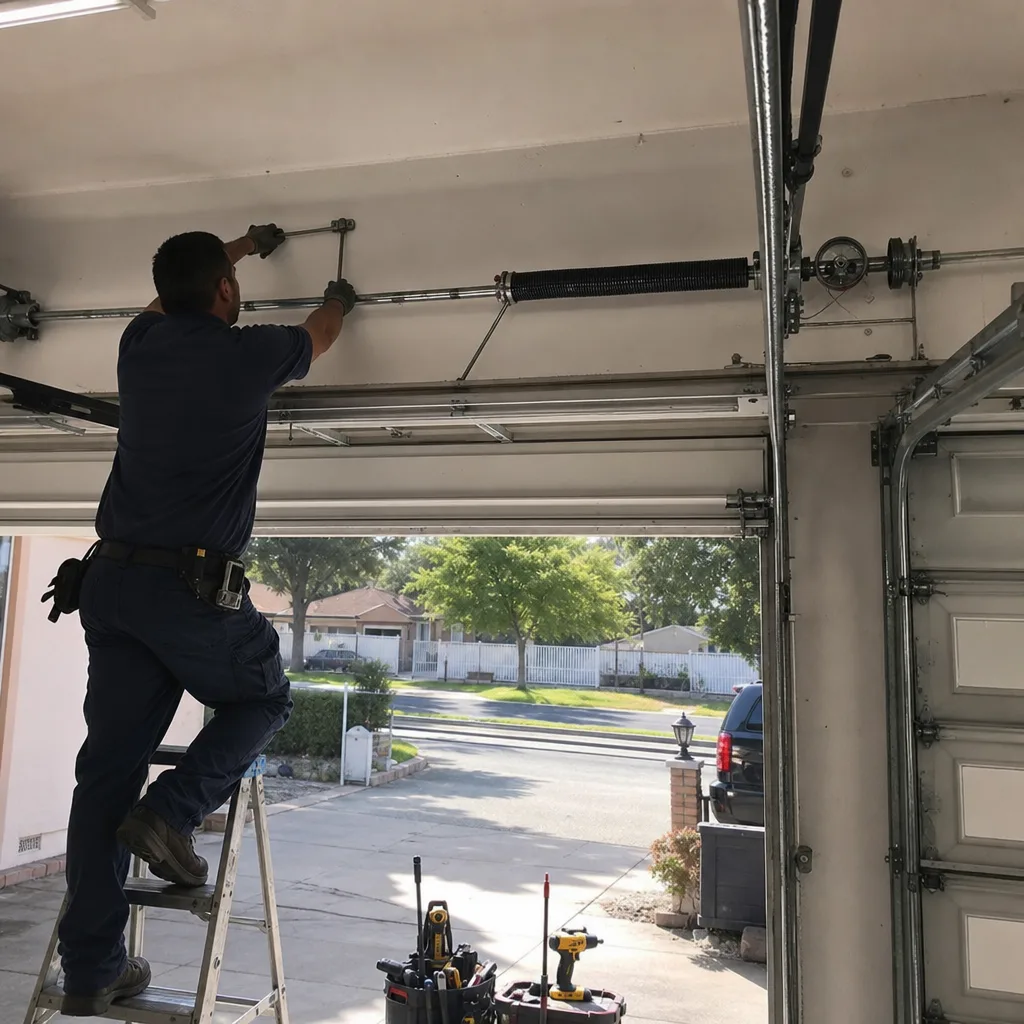
Every year, somewhere in the Inland Empire, a homeowner ends up in an emergency room because a torsion spring let go while they were standing on a ladder three feet away from it. The spring didn’t care how many YouTube videos they watched. It didn’t care that they’d fixed a garbage disposal last month and it went fine. The spring had roughly 150 foot-pounds of stored torque, and when it released, it released all at once. This guide draws the line between what you can safely handle on your own garage door in Ontario and what belongs in the hands of someone who has done it 18,000 times. For more guides & resources on garage door care, see our blog. We’ll name specific parts, specific dollar ranges, and the specific reasons the DIY question isn’t really about your skill level. It’s about which component failed.
Quick Answer
DIY is reasonable for low-consequence garage door tasks in Ontario, CA: replacing a bottom seal, cleaning and aligning photo-eye sensors, reprogramming a remote, or touching up paint. See our Garage Door Repair Maintenance Checklist for Ontario Homeowners for a full task breakdown. Professional service is the only sensible choice for anything involving torsion springs, cable drums, or structural mounting hardware, because those components store enough energy to cause serious injury when they fail, and California insurers can deny claims tied to improper mechanical work. The decision should be made per-task, not per-person.
Table of Contents
- Which Garage Door Tasks Are Actually DIY?
- The Torsion Spring Reality: Why This One Component Changes Everything
- The Tool Cost Math Nobody Shows You
- California Liability: What Your Insurance Policy Thinks About DIY Garage Door Work
- The “Partially DIY” Option: Buying Parts, Paying for Labor
- The Documentation Gap: Service Records and Resale
- Ontario-Specific Factors: Climate, Housing Stock, and What They Mean
- Opener Work: The Middle Ground
BeforeAfterWhich Garage Door Tasks Are Actually DIY?
The honest answer is that about 20 percent of common garage door tasks are genuinely DIY-appropriate, and the other 80 percent carry either injury risk or hidden complexity that makes professional service the more rational financial decision. Here’s the component-level breakdown.
DIY-appropriate tasks
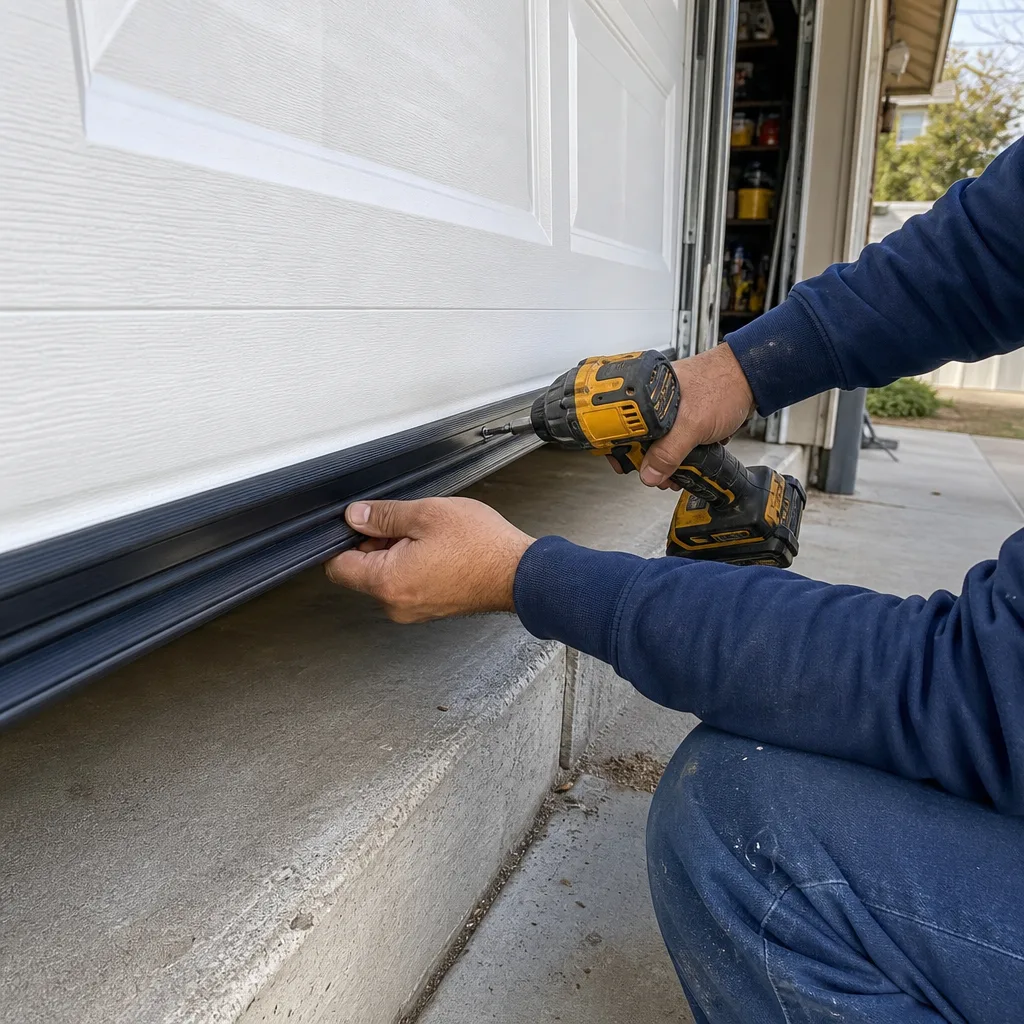
- Bottom seal replacement. The rubber strip along the bottom of the door rots and cracks in Ontario’s dry heat, usually within three to five years. You slide out the old seal, cut a new one to length, and slide it back in. No spring tension involved. Cost: $15 to $40 in parts at any Ontario hardware store.
- Photo-eye sensor cleaning and alignment. If your door reverses for no reason, the photo-eyes near the floor are usually dusty or knocked out of alignment. Wipe the lenses, check the small indicator lights, and gently adjust the brackets until both lights glow steady. No tools beyond a level.
- Remote programming. Chamberlain and Genie openers both have standard programming sequences that take under two minutes. The manual for your specific opener lists the exact button sequence. If the remote is dead, replace the battery before you replace the remote.
- Track lubrication. A light coat of white lithium grease on the hinges and rollers quiets a squeaky door. Do not grease the track itself, just the moving parts. This is a 15-minute task with zero risk.
- Panel paint touch-up. Ontario sun fades south-facing door panels fast. Rust-Oleum makes garage-door-specific paint in Clopay and Amarr color codes. Surface prep is the entire job; the painting is easy.
Professional-only tasks
- Torsion spring replacement. Covered in detail below. The short version: these springs are under 120 to 180 foot-pounds of torque and the winding process requires bars, counting quarter-turns, and knowing the wire gauge. Getting it wrong can be fatal.
- Cable drum and cable replacement. The lift cables run through the torsion system. If a cable snaps or jumps the drum, the door hangs unevenly and the remaining cable carries double load. Replacing cables means releasing spring tension first, which loops you back to the torsion spring problem.
- Structural header bracket repair. The center bracket that anchors the torsion spring assembly to the header above the door takes enormous load. If it loosens or pulls out, the spring assembly can come off the wall under tension. This requires lag bolts of specific length and sometimes header reinforcement.
- Door panel replacement after impact damage. A single dented panel on a sectional door can sometimes be replaced individually, but the door must be supported, the hinges realigned, and the spring tension verified after the swap. If the door is an Amarr or Clopay model, panel availability and color match are the real challenge.
- Full door replacement. A new garage door in Ontario involves removing the old door under tension, disposing of it, installing new track, and re-tuning the spring system to the new door’s specific weight. This is measured, ordered, and scheduled work, not a weekend project.
In our experience at Servo Garage Doors Ontario home, the most common DIY attempt that ends in a service call isn’t a spring, it’s a sensor alignment that turned out to be a failing logic board. The homeowner spent two weekends adjusting brackets before we found the real problem in twenty minutes. That’s the hidden cost of DIY: time spent on the wrong diagnosis.
The Torsion Spring Reality: Why This One Component Changes Everything
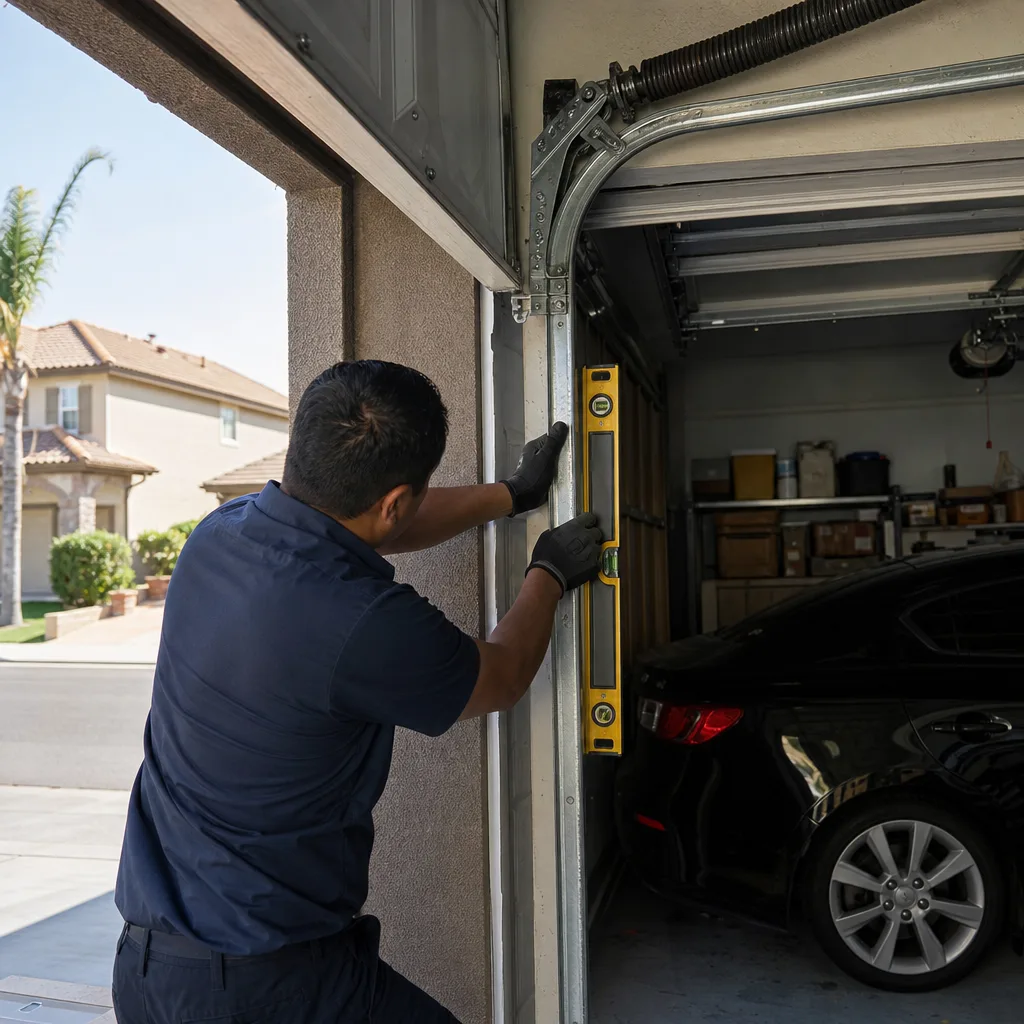
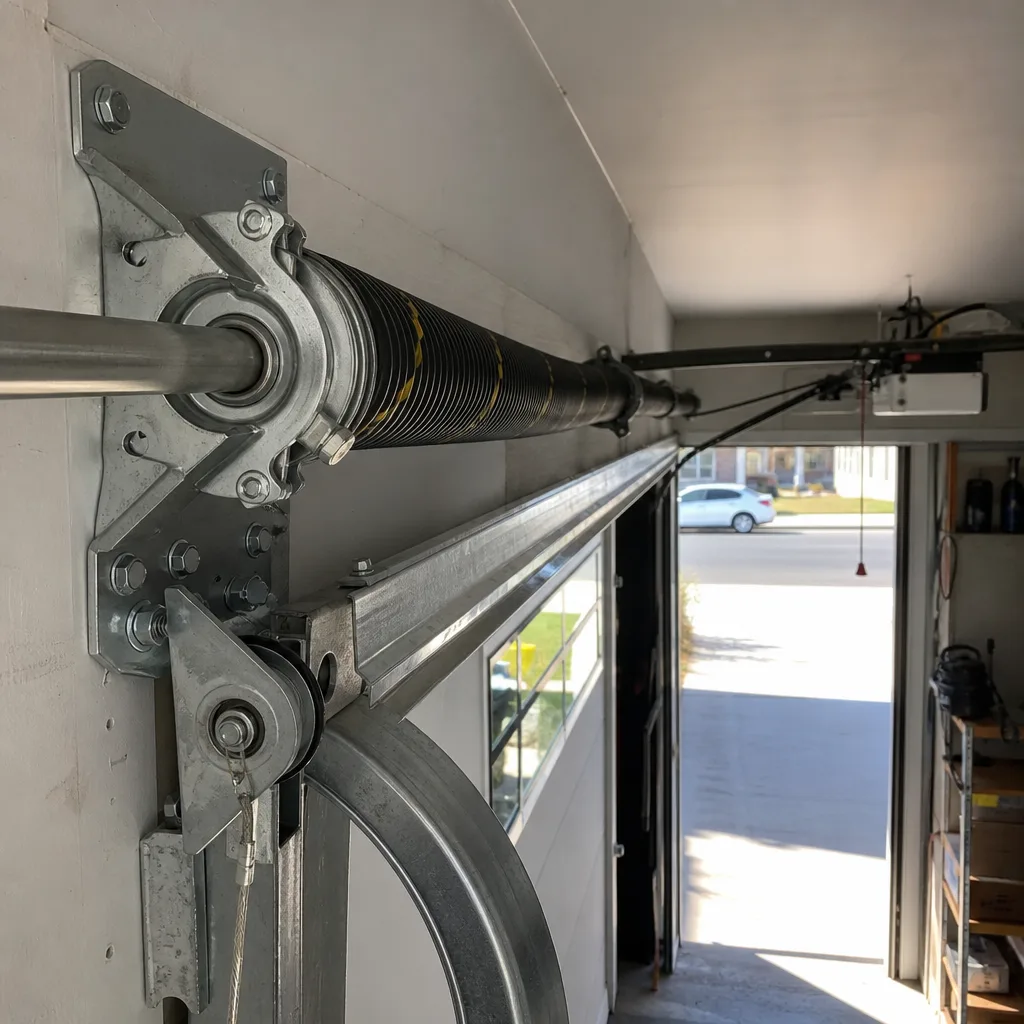
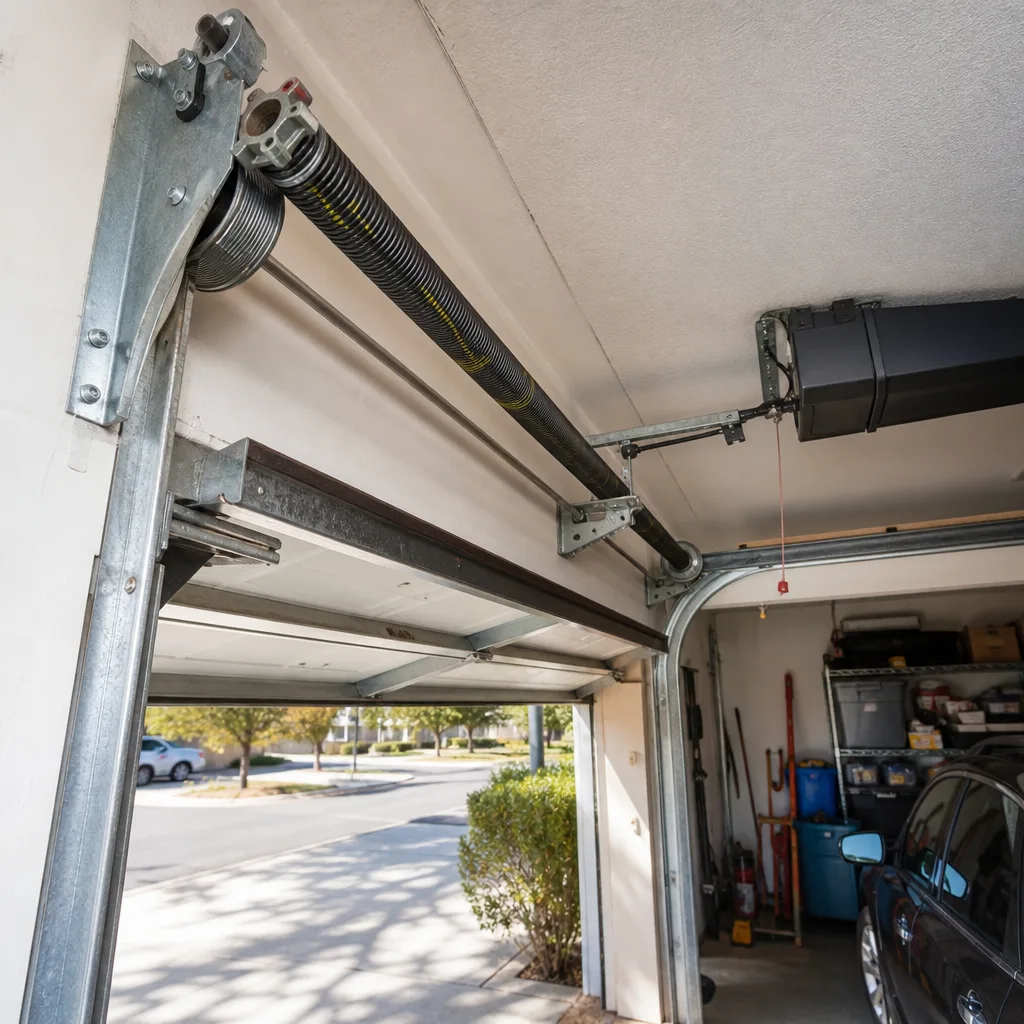
A torsion spring is a thick steel coil mounted horizontally above the door opening. When the door closes, the spring winds tighter, storing the energy needed to lift the door the next time. On a standard 16-foot residential door in Ontario, that spring holds between 120 and 180 foot-pounds of torque when fully wound. That’s enough stored energy to break a forearm, fracture facial bones, or, in documented cases, kill. This is not a cautionary exaggeration. It’s the physics of the component.
The task that injures people isn’t removing the broken spring. It’s winding the new one. You insert steel winding bars into the collar and turn the spring a specific number of quarter-turns, counted precisely, to tension it for the door’s exact weight. If the bar slips, the spring unwinds instantly in the opposite direction. The person holding the bar is directly in the path of that release. The comparison people make is a loaded gun. It’s not far off.
Professional technicians handle this safely because they’ve done it thousands of times and use purpose-built winding bars with handles long enough to maintain control. We’ve done Garage Door Repair in Ontario calls where the spring broke at 6 a.m. and the homeowner needed the car out by 7. That work gets done correctly because the torque specification for the new spring is matched to the door’s weight, cable drum type, and track radius; not because anyone guessed. The spring is sized, measured, and documented.
Here’s what the safety conversation actually sounds like when we’re on site: “The right spring for this door is a 0.218-inch wire diameter, 2-inch inside diameter, 28-inch length spring. The one that’s on there now is the wrong wire gauge and it’s why it broke early.” That’s Clause 4 of The Haven Standard in practice: the technician photographs the failed component before quoting a replacement, and the customer sees the evidence. You don’t get that from a YouTube tutorial.
The Tool Cost Math Nobody Shows You
The reason DIY spring replacement looks cheap online is that the tutorials skip the tool list. A proper torsion spring job requires specialized equipment, and buying it for a single repair often costs more than the service call itself.
What proper spring work requires
- Two winding bars: solid steel bars, typically 18 inches, rated for the torque spec of your spring. Using rebar or screwdrivers as substitutes is how injuries happen. Cost: $30 to $60 for a proper pair.
- The correct spring: torsion springs are matched to door weight, height, cable drum type, and track radius. Guessing the wrong wire gauge means the door is underbalanced (won’t open smoothly) or overbalanced (the opener strains and the spring fails early). Cost: $60 to $140 per spring depending on size and cycle rating.
- Torque knowledge: not a physical tool, but the most expensive line item. A spring wound two quarter-turns too many cuts its lifespan by years. A spring wound two too few means the door drops when released. This knowledge comes from doing it repeatedly, not from watching it done.
- A second person: some spring jobs can be done solo. On a heavy door with a bent track, a second set of hands is safer. Not a cost, but a scheduling reality.
What the professional call actually costs in Ontario
| Item | Typical Ontario Range |
|---|---|
| Torsion spring replacement (one spring, parts and labor) | $220 to $380 |
| Torsion spring replacement (both springs, parts and labor) | $320 to $560 |
| Cable replacement (pair, including re-tensioning) | $170 to $290 |
| Photo-eye sensor replacement (pair) | $130 to $210 |
| Bottom seal replacement (parts and labor) | $90 to $160 |
| Logic board replacement on opener | $180 to $320 |
Notice the bottom seal number: $90 to $160 with labor. That’s a job you can genuinely do yourself for $15 in parts and 30 minutes. The math favors DIY there. But the spring math is different. A single spring replacement quoted at $280 includes the winding bars, the correct spring specification, the torque applied precisely, and a technician who has done it thousands of times. Buying the tools yourself for a one-time job costs $90 to $200, and you still haven’t bought the spring. The 365-Day Done Right Promise also matters here: if the spring we install isn’t right, we make it right. If the spring you install isn’t right, you buy another spring and do it again.
Every quote from Servo Garage Doors Ontario is delivered as a flat, written price and written scope before any work begins. That’s Clause 1 of The Haven Standard. The price you agree to is the price you pay. There’s no version of this process where the invoice arrives higher than the number on the page because the technician “found something else.” If we find something else, you see the photograph and get a new written price before a wrench moves.
California Liability: What Your Insurance Policy Thinks About DIY Garage Door Work
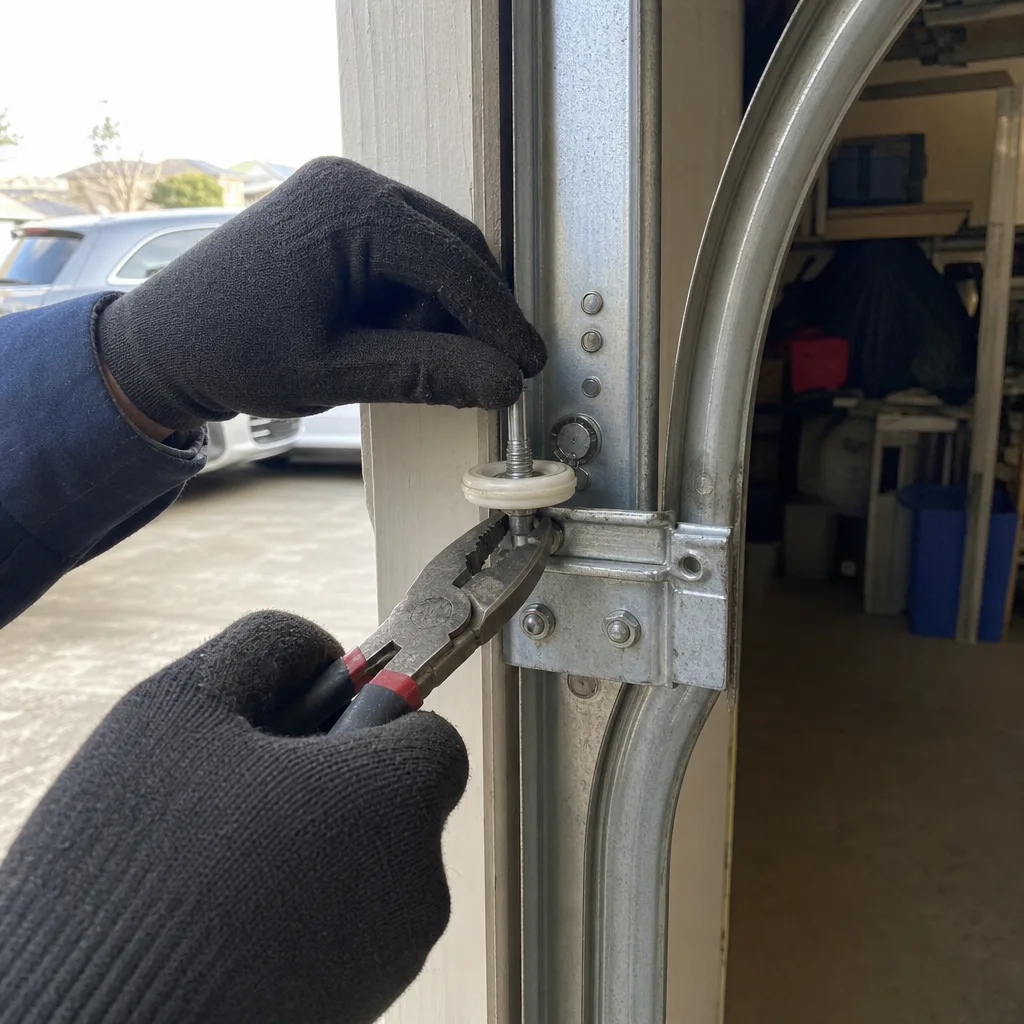
Here’s the part almost no DIY guide covers, and it matters more in California than almost anywhere else. If you install a garage door spring yourself and that spring fails, damaging your vehicle or injuring someone on your property, your homeowner’s insurance company gets to ask a specific question: was the mechanical work performed by a qualified professional?
If the answer is no, and the insurer can demonstrate the failure resulted from improper installation, the claim can be denied under exclusions for faulty workmanship performed by the policyholder. That’s not a rare exception. That’s standard policy language in California homeowner’s insurance. The moment you take on mechanical work involving stored-energy components, you are assuming the liability for the outcome, and your insurer may not be behind you.
The same logic applies in reverse when you hire a licensed contractor. If the spring fails because the technician wound it incorrectly, their insurance covers the damage. That’s part of what you’re paying for in the $280 service call. You’re not just buying a spring and some labor. You’re buying a documented installation performed by an insured party, with a paper trail that survives the moment.
This is also where the photograph record matters. When our technician installs a spring, the photo record shows the before state, the component being installed, and the after state. The customer receives that documentation. If there’s ever an insurance question, you have evidence of professional installation, not just a receipt. That’s the documentation gap in action: a DIY repair generates no such record unless you create it yourself, and even then, it’s a self-generated record, which carries different weight in a claim dispute.
The “Partially DIY” Option: Buying Parts, Paying for Labor
There’s a middle path between full DIY and full service, and it’s more common in Ontario than most people realize. It looks like this: you buy the replacement part yourself, and you pay a technician for labor only.
This works well for a few specific scenarios. If you have a discontinued Amarr panel or a specific Clopay color that you can source online, buying it yourself can save the markup and the sourcing fee. If your opener died and you’ve picked out a specific Chamberlain model at a price you like, you can buy it and have the installation done professionally. You get the part-price advantage without assuming the liability or the technical risk.
But be aware of how contractors respond to this. Many companies in the Ontario area won’t touch customer-supplied parts at all, because they can’t warranty the part, only the labor. If the part fails in three months, the customer blames the installer even when the part was the problem. Other companies will install customer parts but with no labor warranty. A smaller number will handle it the same as any other job: written price for labor, clear scope, documented photo record, and the same 365-day promise applied to the installation itself.
If you’re considering this route, ask one question up front: “Will you install a part I supply, and does your labor warranty still apply?” The answer tells you exactly how that company approaches accountability. At Garage Door Installation in Ontario from Servo, the answer is yes: customer-supplied parts are installed with the same written scope and documentation. We’ll flag compatibility concerns before work starts, because the photo record and a written note about a potential issue protects everyone.
The Documentation Gap: Service Records and Resale
When you sell a home in Ontario, the garage door is one of those items that home inspectors flag and buyers ask about. A professional repair generates a paper trail: the invoice, the written scope, the photo record, and the warranty terms. That documentation tells the buyer something specific: this mechanical system was maintained by a licensed professional, and the spring was replaced on a particular date with a particular cycle-rated spring.
A DIY repair generates none of that unless you create it yourself. And even when you do, a buyer’s agent looking at a handwritten note about a spring replacement will treat it differently than they’d treat an invoice from a licensed garage door company. The resale value isn’t in the spring. It’s in the evidence that the spring is correct for the door and installed properly.
This matters in Ontario specifically because of the housing market here. Homes built between 2015 and 2025 dominate a huge portion of the inventory, and those garages are reaching the point where original springs are due for replacement. Buyers who’ve done their research know this. A seller who can produce a service record for the garage door removes one negotiation point entirely.
The photo record is the part people don’t expect to matter until it matters. We photograph the failed component before work starts, the new component during installation, and the completed work. You receive that record digitally. It’s not a marketing flourish. It’s evidence. When Marcus Deller started this company in 2015, the founding rule was simple: the customer sees the failed part before anyone quotes a replacement. That rule became Clause 4 of The Haven Standard, and it’s why our customers can show their buyers exactly what was done and when.
Ontario-Specific Factors: Climate, Housing Stock, and What They Mean
Ontario’s climate does specific things to garage doors. The Inland Empire’s dry heat and occasional Santa Ana winds mean bottom seals dry out and crack faster here than in coastal cities. The same sun that bakes your driveway also fades south-facing door panels and degrades the plastic components in photo-eye sensors. If you’re doing DIY work in Ontario, these are the tasks our climate accelerates.
The housing stock matters too. Ontario has a high concentration of homes built between 2015 and 2025, which means a lot of original garage door systems are aging into their first serious repair cycle. Original builder-grade torsion springs typically carry a 10,000-cycle rating, which works out to roughly 7 to 10 years of normal use. For a house built in 2018, that clock is running out right about now. If your door feels heavier than it used to or the spring shows a visible gap where a coil separated, the spring is near end of life, and that’s not a DIY problem.
Neighborhoods like the newer developments around Ontario Ranch and the established streets near Creekside and Archibald see different garage door profiles. New construction tends toward steel doors with mid-range spring ratings. Older stock sometimes has wooden doors that weigh significantly more, which means the spring work on those doors requires more precision. A wood door that’s 40 pounds heavier than standard needs a different spring specification. The technician has to know the difference, and it’s one of those details that doesn’t make it into generic online tutorials.
One more Ontario-specific note: the heat affects spring life. Torsion springs are steel, and extreme heat cycling contributes to metal fatigue. A spring that fails in July in Ontario often shows the classic fatigue pattern: the break is clean, usually at a point where a coil was already stressed. We see this pattern regularly across the Inland Empire, and it’s one of the reasons we recommend replacing both springs at once when one fails. The second spring is the same age, has cycled the same number of times, and is about to fail for the same reason. Replacing both at once costs less per spring than doing them separately a month apart.
Opener Work: The Middle Ground
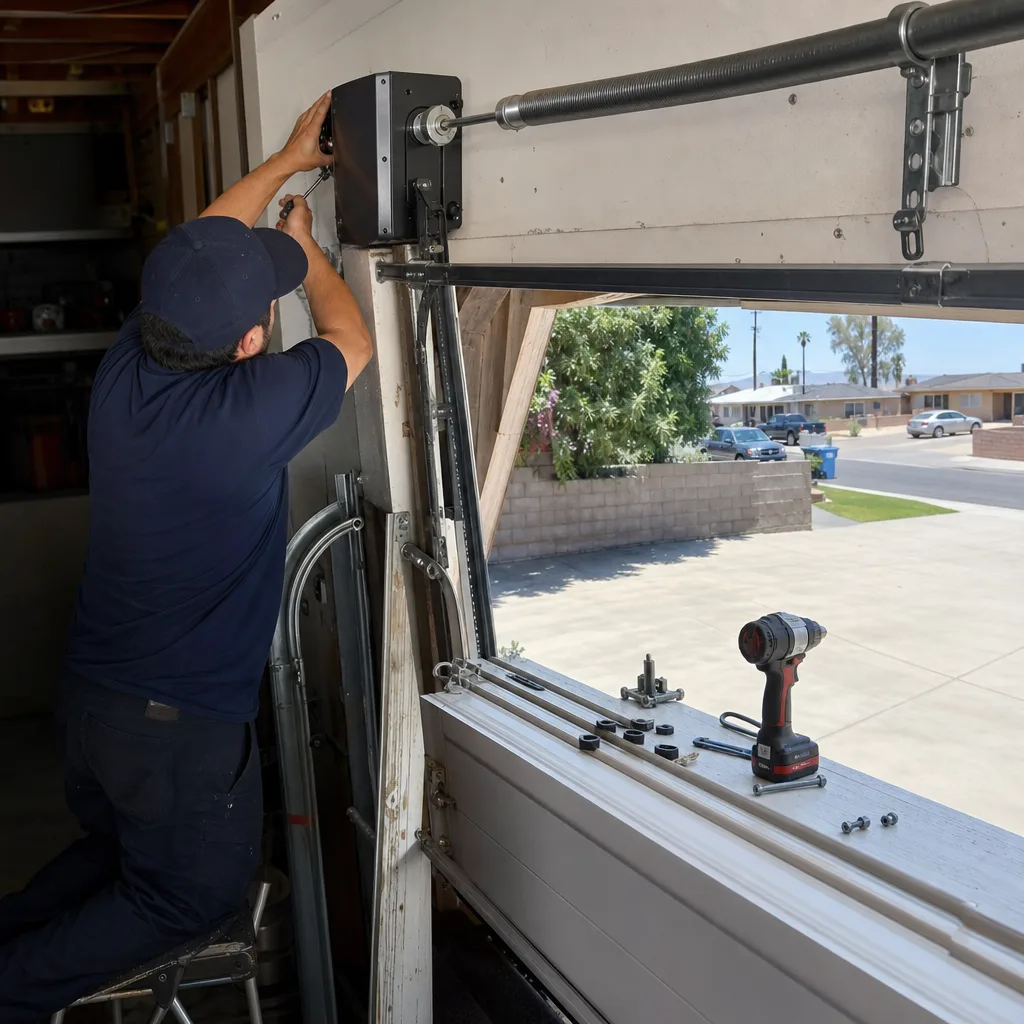
Garage door openers sit in a category between the door’s mechanical components and your household electronics. The opener’s motor, logic board, and safety sensors are low-voltage systems. You can troubleshoot and even replace some opener components without touching the spring tension, provided you know where the line is.
What you can do with an opener
- Reprogram remotes and keypads. Every Chamberlain and Genie opener has a standard programming routine. The manufacturer’s manual is usually findable online with the model number. This is a five-minute task.
- Replace the safety sensor wiring. If the photo-eye sensors are undamaged but the wiring is frayed or chewed, low-voltage wire replacement is straightforward. The sensors themselves are cheap, and swapping a pair is a plug-and-play job on most models.
- Check the force settings. Openers have adjustment dials or digital settings for open and close force. If the opener reverses on a properly balanced door, the force setting needs adjustment. This is a legitimate DIY task.
What belongs to a professional
- Logic board replacement. Modern openers run on a circuit board that controls the motor, the safety reversal, and the wireless receiver. Diagnosing a failed board versus a failed motor or a bad limit switch takes test equipment and experience. On a Genie system, a bad board can mimic a bad wall console, and vice versa.
- Opener motor replacement. If the motor itself is worn out, replacing the entire opener is usually the better call, and that’s a job that includes disconnecting the door from the old opener, installing the new one, setting the travel limits, and testing the safety reversal. This is Garage Door Opener Repair & Installation in Ontario work, not a Saturday project.
- Limit switch adjustment gone wrong. The limit switches tell the opener where “fully open” and “fully closed” are. If set incorrectly, the opener can drive the door into the floor or pull it past its travel limit. It’s usually fixable, but the diagnosis requires understanding whether the issue is the switch position, the travel module, or the RPM sensor. People burn hours on this.
The middle-ground opener tasks are genuinely fine to DIY. The closer you get to the motor and the circuit board, the more likely you’re replacing a $200 part when a $10 sensor was the problem, or vice versa. We see both mistakes regularly in Ontario.
Common Mistakes to Avoid
- Replacing only one torsion spring when both are the same age. The remaining spring has cycled the same number of times and carries the same fatigue. It will fail soon, and paying for two service calls costs more than replacing both at once. This is the single most common mistake we see in Ontario, and it’s driven by the urge to save $150 today.
- Using the wrong lubricant on the tracks. WD-40 is not garage door lubricant. It cleans and then dries out, leaving the track more prone to sticky operation than before. Use white lithium grease on hinges and rollers only, never on the track surface itself, which should stay clean and dry for proper roller contact.
- Disconnecting the opener without releasing spring tension. The opener is not what holds the door up. The springs do that. If you undo the opener arm and the door drops, the springs are failing or the door is badly out of balance. Either way, that’s a professional diagnosis, not a DIY moment.
- Buying a replacement spring by “door size” instead of door weight. Two 16-foot doors can weigh 40 pounds apart depending on material. A spring sized for the lighter door installed on the heavier one fails early and strains the opener. The spring’s wire diameter, inside diameter, length, and wind direction all have to match the actual door.
- Ignoring the safety reversal test. After any work on the opener or the door, the safety reversal should be tested: place a 2×4 on the ground under the door and close it. The door must reverse within two seconds of contact. This is a federal safety standard, not a recommendation, and it’s the difference between a functioning door and a hazard.
- Assuming the springs are fine because the opener is new. A new opener on old, worn springs is a wasted installation. The opener will overwork against a door that’s out of balance, burning out the motor years early. In Ontario, where many 2018-era homes are now getting their second opener, the spring condition should be checked as part of that job.
When to Call a Professional
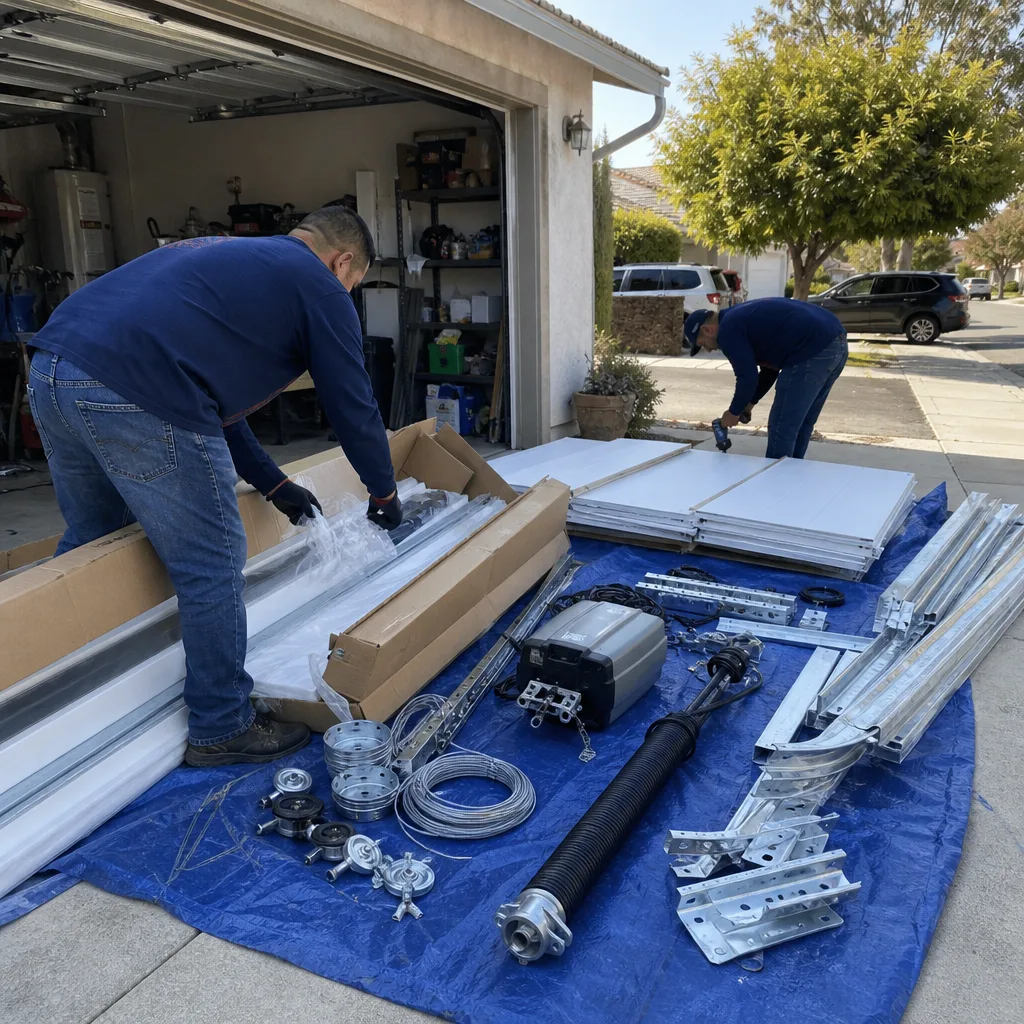
Call a professional if the torsion spring is broken, if a lift cable has snapped or jumped off the drum, if the header bracket above the door is loose, if the door drops when released from the opener, or if the opener’s motor or logic board has failed. Also call if you’ve attempted a DIY fix and the door now behaves worse than before; we untangle that situation regularly, and the fix is usually faster than the frustration that preceded it.
Servo Garage Doors Ontario offers free estimates in Ontario; call (951) 470-2012 and we’ll send a technician with a written price before any work starts. The quote is the quote. You’ll see the failed part in photographs before you approve a single dollar.
Frequently Asked Questions
Expect to pay $220 to $380 for a single torsion spring replacement in Ontario, and $320 to $560 when both springs are replaced at once. The range depends on spring size, cycle rating, and door weight. The price you’re quoted should be a flat, written number before work starts, not an estimate that might change. Call (951) 470-2012 for an exact quote; estimates are free.
You can, but you shouldn’t. Torsion springs hold 120 to 180 foot-pounds of torque when wound, and the winding process requires specialized bars and precise quarter-turn counting. A slip can cause serious injury or death. This is the one garage door task where the risk profile alone justifies hiring a professional, regardless of your mechanical ability.
Bottom seal replacement, photo-eye sensor cleaning and alignment, remote programming, track-adjacent lubrication, and panel paint touch-up are all safe DIY tasks in Ontario. None involve spring tension or structural mounting hardware. The bottom seal job is the most common DIY win: $15 in parts versus $90 to $160 with labor.
Probably not, if the insurer can show the damage resulted from improper mechanical work you performed yourself. California homeowner’s policies commonly exclude faulty workmanship by the policyholder. Professional installation from a licensed and insured company transfers that liability to the contractor’s insurance, and the service record gives you documentation the insurer can work with.
Standard builder-grade torsion springs are rated for about 10,000 cycles, which equals 7 to 10 years of normal use in Ontario. If your home was built between 2015 and 2018 and the springs are original, they’re due now. You’ll notice the door feeling heavier, a visible gap in the coil, or a loud bang from the garage when the spring finally lets go.
Yes. If you’ve already purchased a spring or opener and need labor only, Servo Garage Doors Ontario handles customer-supplied parts with the same written scope, documented photo record, and 365-Day Done Right Promise as any other job. We’ll flag any compatibility concerns before work begins, and the labor warranty still applies. Call (951) 470-2012 and mention you have parts on hand.
The Bottom Line
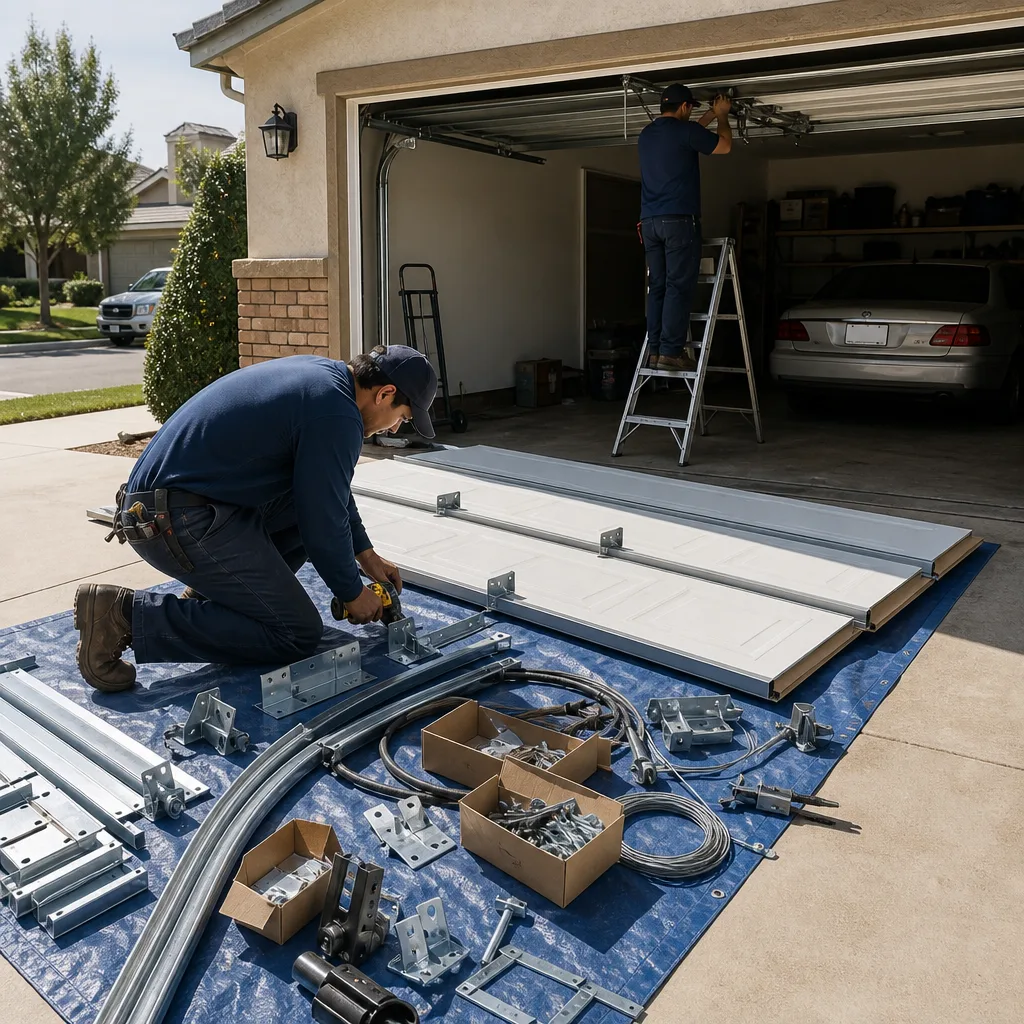
The DIY-versus-professional question on garage doors isn’t about how handy you are. It’s about which component failed. Bottom seals, sensors, remotes, and paint are fair game for a confident Ontario homeowner. Torsion springs, cables, and structural brackets are not. The springs can kill you, the insurance can deny you, and the wrong spring specification can cost you more in premature failure than the service call would have cost in the first place. When you hire a professional, you’re buying documentation, liability transfer, and a written price that doesn’t change when the truck arrives. When you DIY the dangerous stuff, you’re assuming all three of those risks yourself.
Servo Garage Doors Ontario is independently owned and operated under The Haven Standard, with live phone coverage 24/7 at (951) 470-2012. Every job gets a flat, written price before work starts, and every customer gets a documented photo record of what we found and what we did. If it’s not done right, the 365-Day Done Right Promise means we make it right. No coupons, no code words, no urgency. Just the price on the page and the paper trail when we leave.
Written by Marcus Deller, Owner at Servo Garage Doors Ontario, serving Ontario since 2015.